Steampunky Einstein, some tags, an exotic mermaid, minecraft creepers and birthcards.

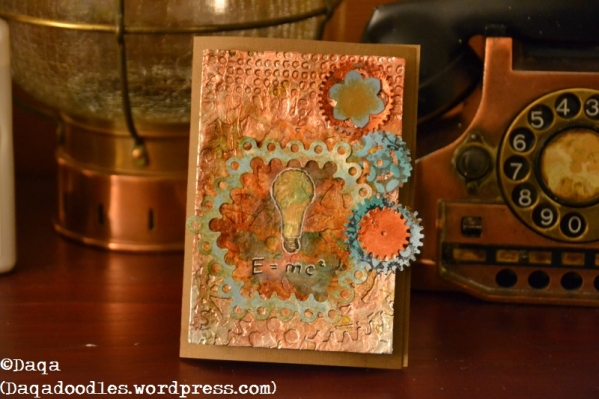
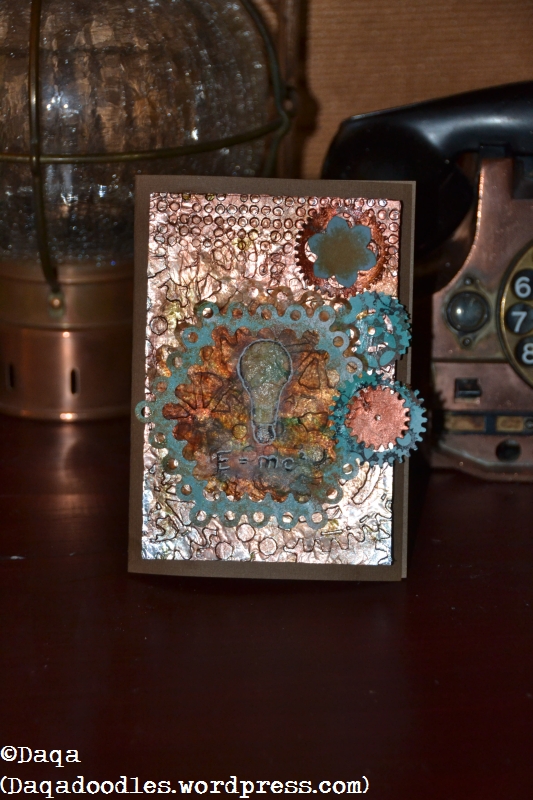
I made this card for a challenge, but I forgot that I had to include certain stamps /materials sold in that shop, so my card wasn’t suitable. Still a nice card, where I experimented again with aluminium foil. ( I seem not to really get past the experimenting fase with it, I still haven’t really got a clue how to best use it).

Daqadoodles13_09_30_225817

Made in september 2013

Daqadoodles13_09_30_230016

Used up some stash here as well. Gear dies, Nellie Snellen multiframe die, a Joy! craft or marianne design die, 2 sizzix embossing folderss, maybe some tissue paper (beneath the lightbulb), the lightbulb stamp is from de stempelwinkel if I’m correct, and distress ink, ranger copper spray (can’t be bothered to look up the correct name now, but I love that one!) coper acryllic paint and/or copper crackling paint (I love copper – can you tell?)

Daqadoodles13_10_03_235013

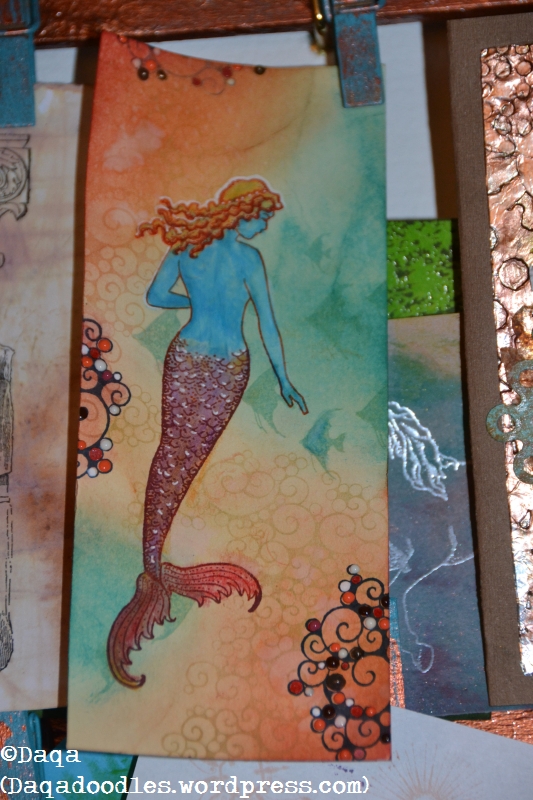
Designs by Ryn and Chocolate Baroque, my two favourite brands of stamps, and they go well together. I wanted to try out some very vibrant colors together. A mermaid lives in the ocean, and in the ocean fish can be found in lots of different beautiful colors, so why not a mermaid? I love how this turned out. But as you can see, it’s not a card, it’s only a frame. I think it still is, I still need to finish it. Or just mat it onto cardstock, and leave it as is? Maybe add a sentiment?

Daqadoodles13_10_03_235011

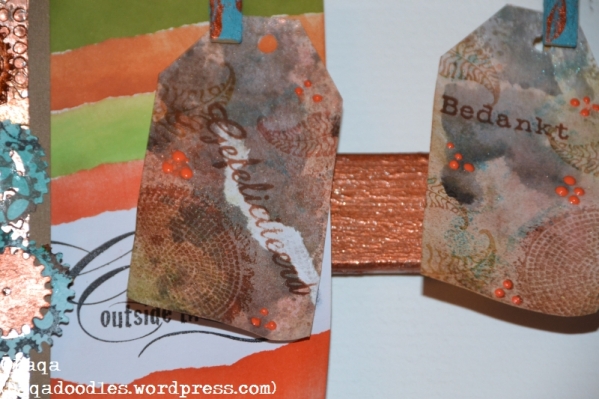
Tags made using the patio stone stamp from Designs by Ryn and the Three Leaves set- stamps, paper pen and a clear stamp sentiment

Daqadoodles13_10_03_235012

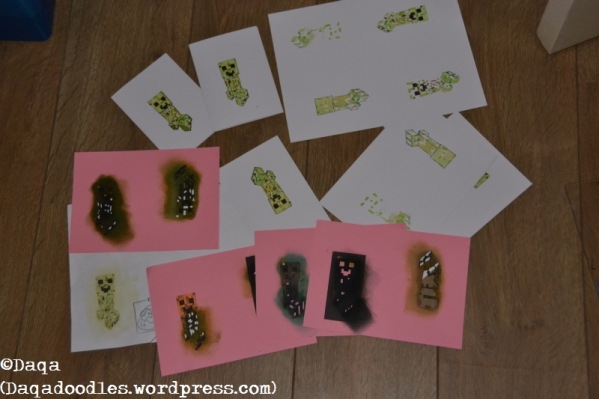
Creepers from Minecraft

I intended to make a series of Minecraft themed Christmas cards, and made stencils to get different colours of the creeper. I could have done this better – if I had taken the time to cut out the stencils out of self adhesive plastic (the kind you put on the window) or even proper stencilling sheets it would have worked better. This was about the last project I made – since jan.6th I had not made cards or sent cards, except for maybe 1 or 2. In 2013 I was very good at sending cards – first half of 2014 I was terrible, but I was so tired. (pregnancy and perparing a move, selling an appartment and renovating both places).

Daqadoodles13_11_06_08274

 Back from crafting break – first steps again

These were about the first cards I made again after my crafting break, birth cards for twin boys. I wasn’t entirely happy with the result, but it was a start in crafting again. I had tried to keep them in the same style as the birth announcement card I had received, but I had no stamps in that style, so I just picked some elements from the card – blue and cloudy. Also, as it were boys I wanted to use my robot emobssing folder finally, and wanted to make 2 seperate cards for them.

Daqadoodles14_04_30_20512 Daqadoodles14_04_30_20523 Daqadoodles14_04_30_20511

(This was a scheduled post)

Papieren kerstster / Paper star

Op verschillende sites een mooie ster gezien, en deze ben ik zelf ook gaan maken.

/ On several sites I’ve seen a lovely paper star, I was inspired to make it myself too.

Bronnen / sources:

Craftideas.info

Hier gaan we dan. Ik heb eerst een vierkant gemaakt van een A4 vel. Ik heb niet het sjabloon uit de tutorial van Craftideas gebruikt, ik heb mijn eigen sjabloon gemaakt. Ik heb het vierkant in 12 stukken verdeeld, dus welke maat je vierkant ook is, verdeel de lengte (L) door 12 en teken steeds kleinere vierkanten met die maat. Teken een diagonale lijn van de ene hoek naar de andere. Nu weet ik even het nederlandse woord voor “offset” niet, het is een tekenterm. Daarmee wordt bedoeld dat je de lijn op een afstand x van de oorspronkelijke lijn herhaalt. Doe dit met de diagonaal, teken een paralelle lijn op 1/12L aan beide zijden van de diagonaal. Het papier tussen deze twee laatste lijnen is de “ruggegraat” van je ster.

So here we go. I first made a square out of an A4 sheet of paper. I didn’t use the template of the tutorial above, but just drew my own lines. I divided the square into 12 sections, so whatever size your square is, divide the length of the sides by twelve and draw smaller rectangles. Draw a line from one corner to the opposite corner on the far end. Now, offset that line 1/12th of the length of the side of the square to both sides. The paper between those lines will be the “backbone” of the star.

Gum de lijnen op de ruggegraat uit om fouten bij het snijden te voorkomen. Afhankelijk van je voorkeur kan je het sjabloon nu overtrekken met een marker en het op deze manier gebruiken als sjabloon (via carbonpapier overtrekken op het uiteindelijke papier), of je kan het sjabloon nu al uitsnijden en dit bovenop je papier leggen en dan weer snijden. Ik heb dit laatste gedaan, zodat ik geen potloodlijnen op mijn sterrepunt zou hebben.

Erase the lines inside the backbone, to avoid cutting mistakes. Depending on your preference, you can either trace the lines with a black marker so you can retrace the template onto your piece of paper, or you can cut the template and lay it on your piece of paper and cut the paper then. I used the last way, so I didn’t end up with lines on my star-paper.

Mijn eerste vierkant was nogal groot. Te groot. Daarna heb ik een klein vierkantje gemaakt van het restje A4. Dat was weer te klein. Toen begon ik te variëren, Ik maakte gebogen lijnen. Dat zag er aardig uit maar het verschil met rechte lijnen was niet zo groot. De kans om verkeerd te snijden is groter en het tekenen kost meer moeite, dus ik maakte nog maar een recht vierkant. Deze keer was de maat goed.

My first square was rather big. Too big. Then I made a small square from the remains of the A4. That was too small. Then I started making a variation, I put curves in the rectangles. That was kind of nice, but the effect was not that great. I mean, it didn’t look terribly different from the straight lined model and it took lots more time and had more room for errors, so I made another square. This time, the size was right.

Ik maake mijn sjabloon, sneed 7 vierkanten uit en lijmde iedere punt in elkaar. Ik had 1 extra vierkant, ik rekende op 6 voor de ster.

I made my template, cut out 7 squares, and glued them up. I had 1 extra square, I was counting on 6 squares for the star.

Ik rolde twee hoeken tegelijk op, beginnen bij de buitenste en dan eentje overslaan en die daarna mee oprollen. I rolled two corners at a time, start with the outermost square, skip one and roll the next one along.

Ik heb de onderkanten van de punten niet aan elkaar gelijmd zoals in de tutorial. Ik heb een gat in de onderkant gemaakt en daar een stukje bloemdraad doorheen gedaan. Daarna heb ik de zijkanten van de punten aan elkaar gelijmd. Ik heb niet goed op de orientatie van de punten gelet toen ik ze aan de draad reeg, dat had ik wel moeten doen. Nu heb ik een buiten-vierkant aan een 2e buitense vierkant moeten lijmen, dat ging niet altijd even makkelijk.

didn’t glue the bottom together like the tutorial, I punched a hole through it and put a piece of iron wire through it. Then I glued the sides together. I had not paid attention to the orientation of the points when I put them on the wire, I should have done that. Now I glued an outer-square against a 2nd outer square. Outer-square on outer-square would be easier gluing I think.

Uiteindelijk stonden de punten wat onder spanning en de lijm liet los. (Ik was te ongeduldig om het goed te laten drogen voordat ik de laatste punt wilde lijmen.) Ik heb een 7e punt toegevoegd om de spanning te verminderen.

In the end, there was quite some tension on my star, and the glue let go (I was too impatient to let it dry properly before trying to glue the last one in place). I added a 7th point.

Ik heb de ster bespoten met een sneeuw-spray die ik al heel lang had staan. 7 jaar? Langer? Ik had het nog nooit gebruikt. Dat had ik ook nu niet moeten doen, want het “droogt” niet. Het is makkelijk verwijderbaar, te makkelijk: Ik kan het nu nog van de ster afvegen. Ik had mooier papier moeten gebruiken of zoals ik eerst dacht, de punten with spuiten met gewone witte verf. Ach ja, volgend jaar weer.

Then I sprayed it with a can of some kind of snow stuff which I had for aaaages (dunno, 7 years?) and have never used before. I shouldn’t have used it now either, as it doesn’t dry. I can still wipe it off easily now. I should have used prettier paper or spraypainted it white on the edges. A well. Next year.

Als laatste nog wat glitterlijm toegevoegd. Er lagen wat stripjes papier om me heen die een beetje krulden, dat zag er wel leuk uit. Ik heb ze nog iets meer gekruld en aan de punten gelijmd. Klaar! En het ziet er niet eens zo slecht uit!

I added some sprinkleglue. I had some pieces of paper lying around which where a bit curly, I curled them some more and glued them to the points. Star done! And it doesn’t look all too bad I think!

Nog een papieren kerstbal / Another Christmas ball ornament

Geinspireerd door deze foto van…/Inspired by this picture from…

Christmas Ornaments Decorating Ideas for Christmas Tree » indecorating.com.

en nog meer inspiratie van… /and another inspiration from…

Homemade gifts made easy & Oh My! Handmade Goodness  (ballen met 2 segmenten / ornaments with 2 segments)

…ben ik aan de slag gegaan om zelf zo’n bal te maken. Ik vond die eerste bal met 3 vakken erin toch erg mooi, dus die wilde ik namaken. Ik heb een testversie gemaakt, rondjes tekenen met een schoteltje, plakken, losmaken en opnieuw lijmen. De testversie vond ik te groot, dus een kleinere versie gemaakt. Ook had ik bij de testversie meer rondjes gebruikt dan nodig. Ik denk dat ik het aantal cirkels nog kan verminderen, nu heb ik 2 verschillende kleuren cirkels gebruikt, maar zoals te zien is in de afbeelding kan je denk ik ook 1 soort papier gebruiken en het middelste segment “verven”./ …I went to work to make a ball like that myself. I really liked the first ornament with 3 segments, so I wanted to make one of those. I made a testversion first, drew circles with a teacupplate, glued it, disassembled it and glued again. The testversion was too big, so I made a smaller version. Also I used more circles then needed at the testversion. I think I can reduce the amount of circels needed even more, I now used 2 kinds of papercircle for 2 colours, ofcourse, like is shown in the picture, you can just use 1 type of paper and “dye” the middle segment.

Testversie / testversion

Testversie gesloten - Testversion closed

De uiteindelijke versie moet nog gelijmd worden en verder versierd. Ik heb 120 g papier gebruikt, het zal beter lukken bij iets dunner papier (niet te dun want ik denk dat het dan scheurt). Tip: maak eerst een proefversie met paperclips, zo zie je waar je moet lijmen! / The last version still needs to beglued up and decorated even more. I used 120g paper, I think it will be better to use thinner paper. (Not too thin because it might tear!) Tip: Make a testversion with paperclips first, this way you see where you need to pt the glue for best results.

Bovenkant, er staat flink wat spanning op / Upper side, there is quite some tension on the paperclips.

Nu nog lijmen en versieren – now only glueing and decorating

Papieren kerstballen – paper christmas ornaments

Geinspireerd door de Vivi Gade set om kerstballen te maken, besloot ik het zelf te doen. Dat wil zeggen, zelf papier maken met een leuk patroon erop, stroken tekenen en uitknippen. / Inspired by the Vivi Gade set to make ornaments, I decided to do so myself. That is, make paper with a nice stamped pattern on it, draw the figures and cut them out.

*


*

En hier de stroken van dichtbij, je ziet hier de vorm die ik gebruikt heb goed. / Here are the paper strips from up close, you can see the shape I used better here.

Voordat ik dit papier dubbelzijdig heb bestempeld heb ik eerst een proefsetje gemaakt van ander eenzijdig bestempeld papier. Hier zie je een proefbal, het is maar een halve maar dat brengt me weer op meer ideeën. Is het niet een leuk idee als er iets IN de bal zit? Dat je dus ziet doordat de bal draait. / Before I stamped this paper on two sides I made a testset first from previously one-sided stamped paper. Here is a testornament, it’s only a half one but it inspired me. Wouldn’t it be fun if there is somethin IN the ornament? Which you will see because the ornament turns in a slight bit of wind.

*

Hier de versie zonder “inhoud”: / Here the version without “content”:

*

De andere ballen heb ik nog niet gemaakt. De stroken liggen netjes uitgeknipt te wachten tot ik er tijd voor heb… in de kerstvakantie? Ach, anders is het nog een leuk project voor volgend jaar. / I haven’t made the other ornaments yet. The pieces of paper are lying there, waiting for me to have more time…maybe during christmasholidays haha! Ah wel, maybe a nice project for next year.

*

Nog even snel wat in de bal gezet als idee. Je moet je voorstellen dat de bal makkelijk ronddraait bij een zuchtje wind. (Hier hangt hij bovendien aan een IKEA Regolit lamp, die ook makkelijk waait in de wind). /I quickly put some itmes in the bal, just to get the idea of it. Imagine the ball to rotate easily with a breath of wind. (Here it is hanging also on a IKEA Regolit lamp, that moves easily in the wind as well)

*

En een kerstklokje, want iets met wat bling is ook wel leuk erin. (Niet dat dit kerstklokje zoveel bling heeft, maar het is maar voor het idee). / And with a christmas bell in it, because something with a little shine and bling is fit for christmas! (Although this christmas bell doesn’t have that much bling, but you get the idea.)


*

Toegevoegd /Added:Hier de set van Vivi Gade, (serie Copenhagen). Dit heb ik uitgeprint op A4, ruwweg de vorm uitgeknip en deze op karton geplakt. Daarna netjes uitgeknipt en dit gebruikt als sjabloon op het uiteindelijke papier. / Here the original set from Vivi Gade, (serie Copenhagen). I printed this on A4, cut out the rough shape of the figure and glued it on firmer paper. Then I cut it out more precies and used that as a template for the final paper.