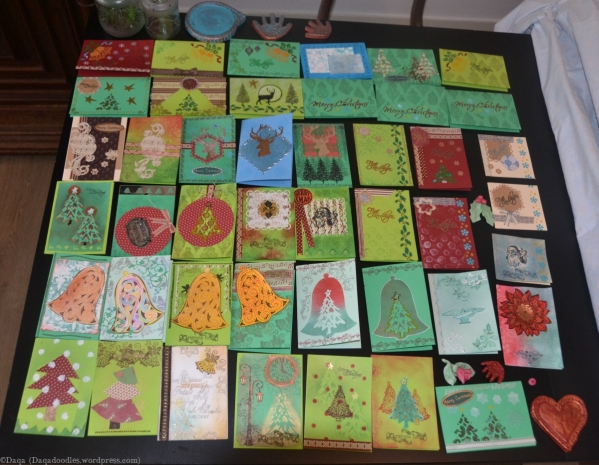
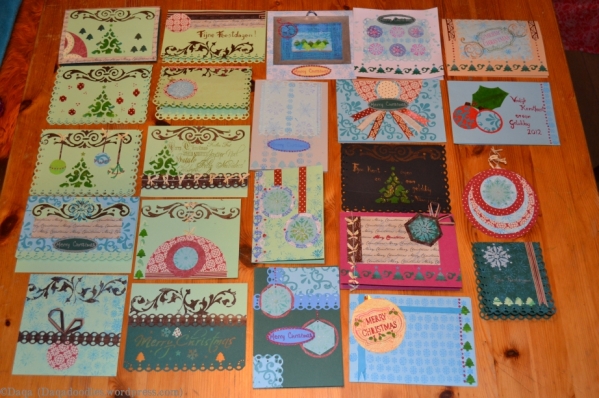
Chocolate Baroque hosts a colour challenge each month, and you can enter 3 entries. That doesn’t stop me from making more cards in that colour combination. This is my third entry-post, and it contains 5 cards.
My challenge entry card is posted first, and repeated at the end of the post.
Card#1, Challenge entry

I Inked up my craftsheet / acryllic bloc with ripe persimmon distress ink, add a touch of red barn to it, spray wit hwater and press your card on it. Ink the edges with milled lavender distress marker.
The flower was a leftover from a previous project – I’m trying to reduce my pile of leftovers.
I stamped the two ornaments on the back with stazon, probably pumpkin orange, and then added the sentiment stamp with Clarinet red stazon.
Card#2

As you can see, this background is part of the sheet I made earlier (see previous post). The cog-flower is also from a previous project (same as above). The edges are inked with the barn door distress marker. the sentiment is heatembossed with red embossing powder. I inked up the edges of the stamp with versamark and stamped & embossed on the left side too, to make the swirls extend. No complete coverage of the embossing and I notice now I forgot to ink up some other edges, but it’s a cute little card.

I’m always trying to find a good position/light to photograph my projects. Seems in the full sun is best, altough I thought the colours look best/most intense if it’s not luminated by dirct sunlight, but indirect light, like a cloudy day. Still the pictures in the sun look brightest / most vibrant to me. And now I’m wondering, which of the two is closest to reality… I guess it’s negligible, as the monitor the pictures are viewed on is as important for accurate viewing as the lighting on the picture. I guess every crafter knows this issue. Maybe I should just take a course about product photography!
Card #3

Another piece of the previously used background. This time it’s used more as a centerpiece then a background. Stamped the winter angel, inked the edges with clarinet stazon ink and heatembossed the word Joy with red embossing powder. It’s a “meh.” card. Boring, not completely right. Ah well, it’s one more handmade christmas card!
card #4
 I liked this card. And I liked the borders. but I don’t like them together but I allready glued them down. Again, the flower is leftover from a previous project. The tree is stamped with stazon then coloured with distress ink and a waterbrush. The greenery (orangery!) in the corners is also stamped with distress ink. The borders are made out of the same colour. The borders just take up too much focus, I should not have used htem or placed them under the main paper.
Card #5

Can you believe I’m staring at the screen, trying to decipher what I used on the card, which stamps I got, while the cards are laying on a pile behind my keyboard? Duh. So much easier to look at the real thing. The background is originally also a pice of the stencil stamped background, but the second (or third?) stamping. After “stamping” with a stencil once, there’s always ink left behind. It’s actually not really visible on the card so I don’t know why I tell you haha. I laid down the stencil again and sponged in the stars with milled lavender, then stamped the steampunk christmas flower. Next I stamped the word Noel on top of it, and stamped the edges – again with 2 colours distress ink. The stamping of the word Noel wasn’t to my liking, so I stamped it again on another paper, tore that off, and inked it up. Before gluing it down on top of the other Noel, I sprayed the main paper with perfect copper mist, and Noel with heirloom gold. Then I glued the bits together – the little flowers being leftovers too. I think I’m out of flowers now.
I don’t know about you, but I often wonder where people take their pictures. A sort of Whats on Your Workdesk but then a Where is Your Photocorner version. I don’t have room for a dedicated corner anymore (meaning a place where I can leave my glass plate lying without it being discovered by the kids and I don’t have time to get it out everytime, so I use what I have. Sometimes I just place the card in the bushes or on the grass if it’s dry. This spot is a spot I’ve been using lately, the birdhouse often still has sun at the end of the day. Because I photographed 8 or 9 cards that time I did get out my glass plate so I could use the barbeque and have a flat surface to put my cards on. This is what it looks like:
And this is a bit what the rest of the garden looks like now. The birdhouse should be fixed to something but we just put it there out of the way. The board on top of the “schraag” (that wooden A form thingy) is nailed / screwed to it, it’s not like it’s a loose board and will tip over. It’s quite firm. It was affixed to the A-form when we were renovating, have a small place to put down tools. As you see, the garden didn’t get a lot of attention yet (empty planters, ladders that still need to be put away etc). The only thing we regularly do now is mow the grass. We did cut the side of the bushes, but we didn’t have time or tools to do the upper part then. After taking these pictures and when the kids were awake again ( I probably took them after lunch when 2 out of 3 are usually napping), I cut the top part. It was nice weather and had to be done, good days will be less and less, so why not now? I’ll try to take a picture (during daytime) to show how it looks now. Be warned though, I didn’t make an effort to make it straight, my goal was: cut off the outgrow. Time was my limit, I didn’t want to spend hours on it, just a quick cut.
So, as promised, I close this post with my entry for the chocolate baroque colour challenge #4


 As you can see not many standard colours, this was due to the challenges of Chocolate Baroque and due to my own “challenge” of making winter cards with non-traditional colours.


